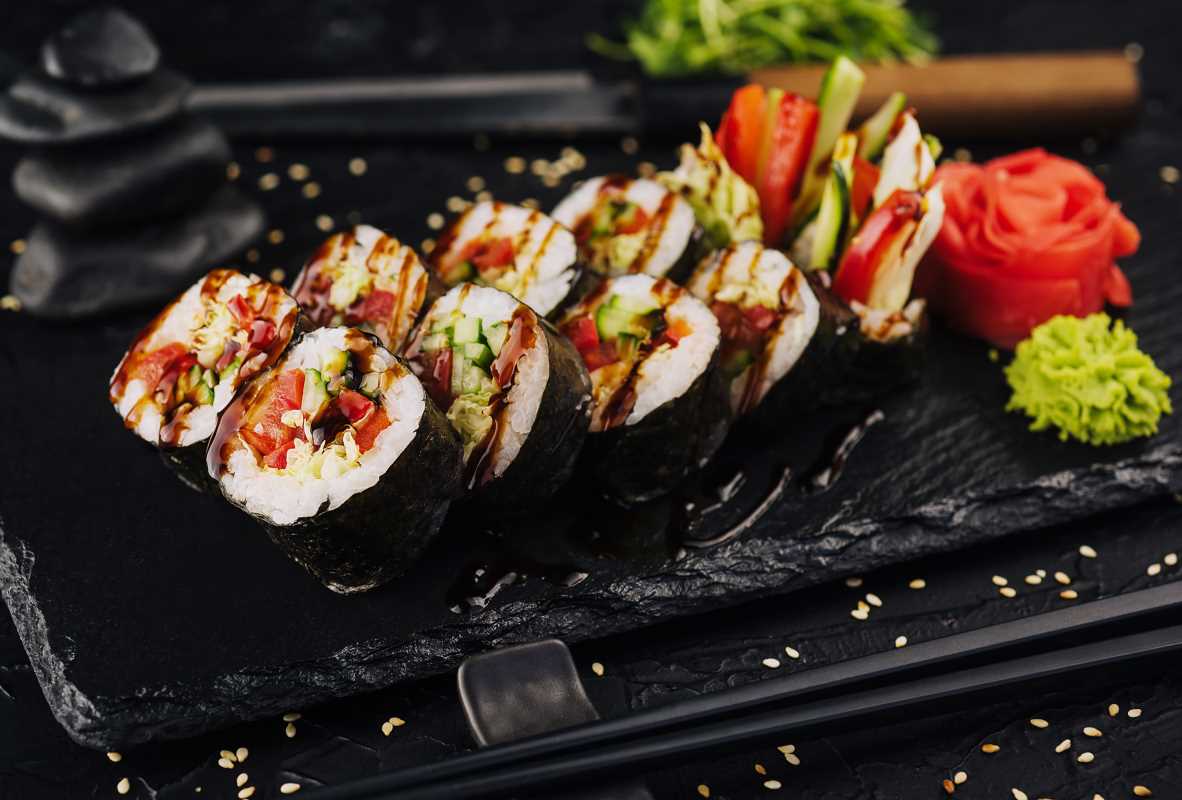
Sushi can feel like a culinary art form, a masterpiece that takes skill, experience, and years of training at a sushi counter. While traditional sushi chefs hone their craft for decades, the good news is that you don’t need a Michelin star or expert knife skills to make sushi rolls you’ll be proud to eat at home. With a few simple steps, some basic tools, and ingredients you can grab at your local grocery store, sushi night becomes not just a reality but an exciting kitchen adventure. If you’ve been craving the fresh, vibrant flavors of Japanese sushi but thought it was something you couldn’t pull off, it’s time to think again.
Gathering Your Sushi Essentials
Before you can roll up your sleeves and your sushi, you’ll need to gather some essential ingredients and tools. Fortunately, sushi preparation relies on accessible staples that are both affordable and easy to find. The two pillars of great sushi are rice and seaweed. Sushi rice, or short-grain rice, has just the right amount of starch to give you the desired sticky texture. You’ll need rice vinegar, sugar, and a pinch of salt to season your rice once it’s cooked.
Nori, or dried seaweed sheets, acts as the canvas for most sushi rolls. Grocery stores often carry packs of nori in their international aisle or Asian food section. Don't forget a bamboo rolling mat, also called a makisu, which will help you tightly roll your sushi into perfect cylinders. If you can’t find one, don’t worry. A clean kitchen towel wrapped around plastic wrap can work surprisingly well.
Selecting Store-Bought Proteins and Fillings
The beauty of homemade sushi is that it’s endlessly customizable. While sushi shops offer fresh fish and elaborate ingredients, home cooks can simplify their rolls with grocery store staples that mimic those restaurant-quality flavors.
Crab sticks are a common ingredient in sushi rolls like the California roll. These seafood-based imitation crab options are easy to use and provide a similar flaky texture. For raw fish lovers, many grocery stores now stock sushi-grade salmon or tuna, which is carefully handled and safe to eat raw. If raw fish feels like a step too far, smoked salmon offers a fantastic alternative with a milder introduction to sushi flavor.
Cooked shrimp, tempura shrimp, or even canned tuna mixed with a little mayo can make satisfying fillings. Vegetarians can lean on cucumber, avocado, and bell peppers to add crunch and creaminess. Cream cheese, though not a traditional sushi element, has snuck its way into Western-style rolls like the Philadelphia Roll and adds an indulgent, tangy touch.
Perfecting the Sushi Rice
Sushi rice is the backbone of any good roll and deserves a little extra attention. Start by rinsing the rice several times until the water runs clear, which removes excess starch and ensures the grains remain separate after cooking. Use a rice cooker or stovetop method to cook the rice, but be precise about the ratio of water to rice for that perfectly tender texture.
While the rice is still warm, season it with a mixture of rice vinegar, sugar, and a little salt. Gently fold the seasoning with a wooden spoon or paddle, taking care not to break the grains. Spread the rice out in a large dish to cool to room temperature. Your rice should be sticky but not mushy, making it easy to shape into rolls.
Rolling Techniques Made Simple
Making your first sushi roll can feel intimidating, but it’s surprisingly fun once you get the hang of it. Lay a sheet of nori, shiny side down, on your rolling mat. Wet your hands slightly to prevent the rice from sticking, then spread a thin, even layer of rice across the nori, leaving about half an inch of space at the top edge. This empty strip is important for sealing your roll later.
Add your fillings across the center of the rice. Be mindful not to overstuff the roll, as it can make rolling and slicing difficult. Using the bamboo mat, start from the bottom edge, lift it over the filling, and begin rolling tightly. Apply gentle pressure to shape the roll as you go, pressing firmly to help it hold together. Once you reach the top seam, run a damp fingertip along the nori to seal your sushi roll.
Creative Sushi Roll Variations
Once you’ve mastered the basics, you can get inventive with your sushi creations. A classic California roll combines crab sticks, avocado, and cucumber, making it fresh and easy on the palate. If you’d like a touch of heat, try a spicy tuna roll by mixing chopped tuna with sriracha and a little sesame oil. For a crunchier texture, add fried tempura shrimp or panko-coated vegetables as fillings.
Reverse rolls, or uramaki, are another fun variation where the rice is on the outside and the nori lines the inside. To make one, simply flip the nori over after spreading the rice and then add your fillings. Sprinkle sesame seeds on the outside of the rice to add flavor and visual appeal. You can even mix it up by topping your rolls with thin avocado slices or drizzling them with spicy mayo or eel sauce.
Serving and Pairing
Now that you’ve rolled your sushi, serve your creations with traditional accompaniments like soy sauce, pickled ginger, and a dab of wasabi. Don’t forget to grab a pair of chopsticks for the full sushi experience. If you’re hosting a sushi night, complement your rolls with miso soup or a light cucumber salad. Pairing your sushi with green tea or even sparkling water creates a refreshing balance to the rich flavors of the rolls. Making sushi at home isn’t just a meal; it’s an experience. It’s artsy, interactive, and absolutely delicious.


